User Management
The User Management section allows administrators to create, update, and delete user accounts for TerraNAS.

Accessing User Management
- Click the 👤 User Profile icon on the top navigation bar.
- Select User Management from the dropdown menu.
- The User Management Dashboard will open.
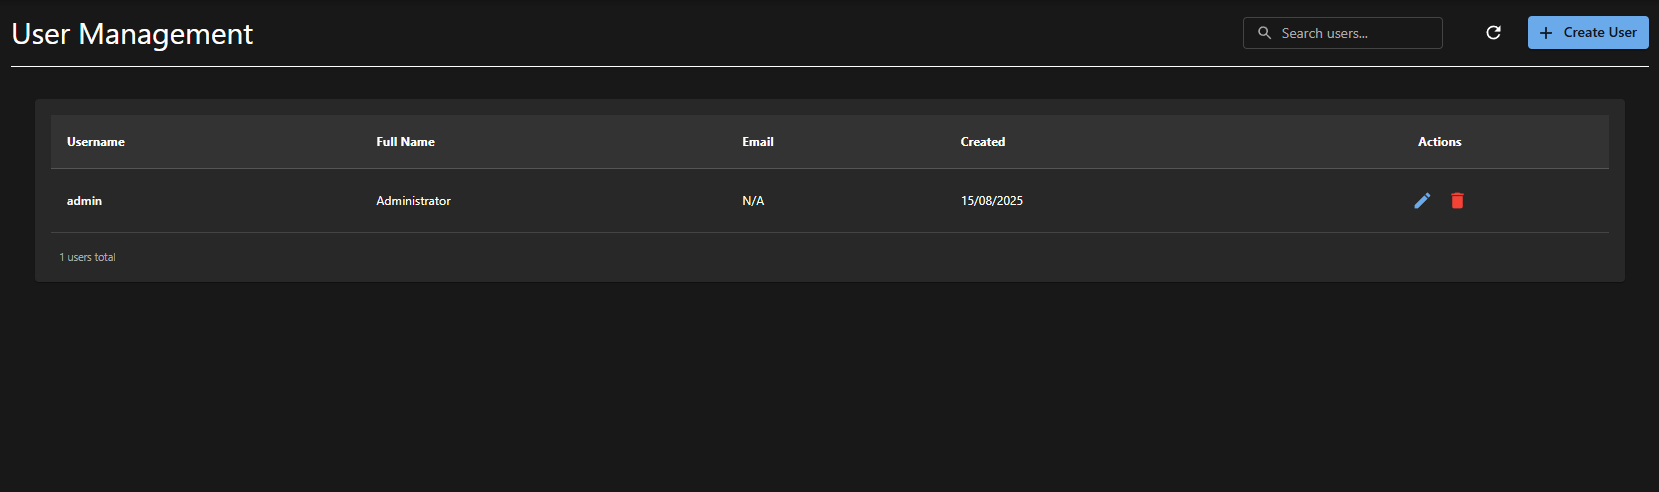
User Management Dashboard
The dashboard displays a list of all existing users with the following details:
| Column | Description |
|---|---|
| Username | Unique login ID |
| Full Name | Display name of the user |
| Registered email address | |
| Created | Date when the user account was created |
| Actions | Options to edit or delete a user |
Available Options
- Search Users – Use the search bar to find a user quickly.
- Refresh – Reload the user list to view latest updates.
- + Create User – Opens the form to add a new user.
Creating a New User
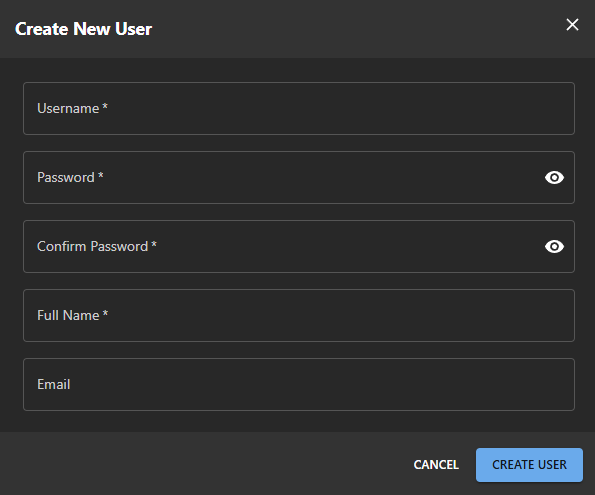
To create a new user:
- Click + Create User.
- Fill in the required details:
| Field | Required | Description |
|---|---|---|
| Username | Yes | Unique identifier for the user |
| Password | Yes | Secure password |
| Confirm Password | Yes | Must match password |
| Full Name | Yes | Display name |
| No | Optional email address |
- Click Create User to save.
- The new user will appear in the list.
Editing User Password
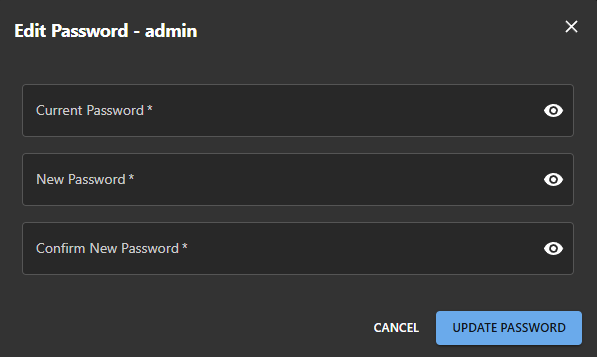
To change a user’s password:
- In the Actions column, click the pencil icon (✏️) next to the user.
- Enter the following details:
- Current Password
- New Password
- Confirm New Password
- Click Update Password to apply changes.
Deleting a User
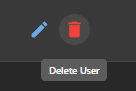
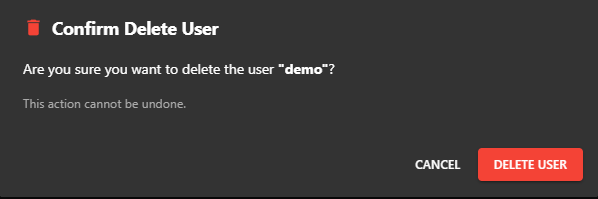
To delete a user:
- In the Actions column, click the trash icon (🗑) next to the user.
- Confirm deletion when prompted.
- The user will be permanently removed from the system.
Warning: User deletion is permanent and cannot be undone.
Best Practices for User Management
- Assign strong and unique passwords.
- Create separate accounts for each user (avoid sharing credentials).
- Delete unused accounts to maintain security.
- Use the admin account only for administrative tasks.