Introduction
TerraNAS Web Console provides a secure and user-friendly interface to access and manage your NAS (Network Attached Storage) system. This document guides you step-by-step to log in and start using the system efficiently.
Accessing the Login Page
- Open your preferred web browser (Google Chrome, Firefox, Edge).
- Enter the TerraNAS web console URL provided by your administrator (e.g.,
http://<server-ip>:<port>). - The login screen will appear.
Login Page Overview
Security Note: For security purposes, first-time users must update their default password immediately after logging in.
The login page contains the following fields and options:
Username
- Enter your assigned TerraNAS username.
- This is case-sensitive.
Password
- Enter the password provided by the administrator.
- Use the eye icon (👁) to toggle visibility of the password for easier typing.
Remember Me (Optional)
- If checked, the system will remember your login credentials for future sessions.
- Recommended only on personal or trusted devices.
Login Button
- After entering valid credentials, click Login to access the dashboard.
Login Best Practices
- Ensure your username and password are correct.
- If you forget your password, contact your system administrator.
- Avoid using “Remember me” on public or shared devices.
- For security, always log out after completing your work.
Troubleshooting Login Issues
| Issue | Solution |
|---|---|
| Invalid Credentials Error | Double-check your username and password |
| Caps Lock On | Ensure Caps Lock is not enabled |
| Forgot Password | Contact the administrator to reset your password |
| Connection Issue | Make sure the TerraNAS server is running and you are connected to the network |
Post Login
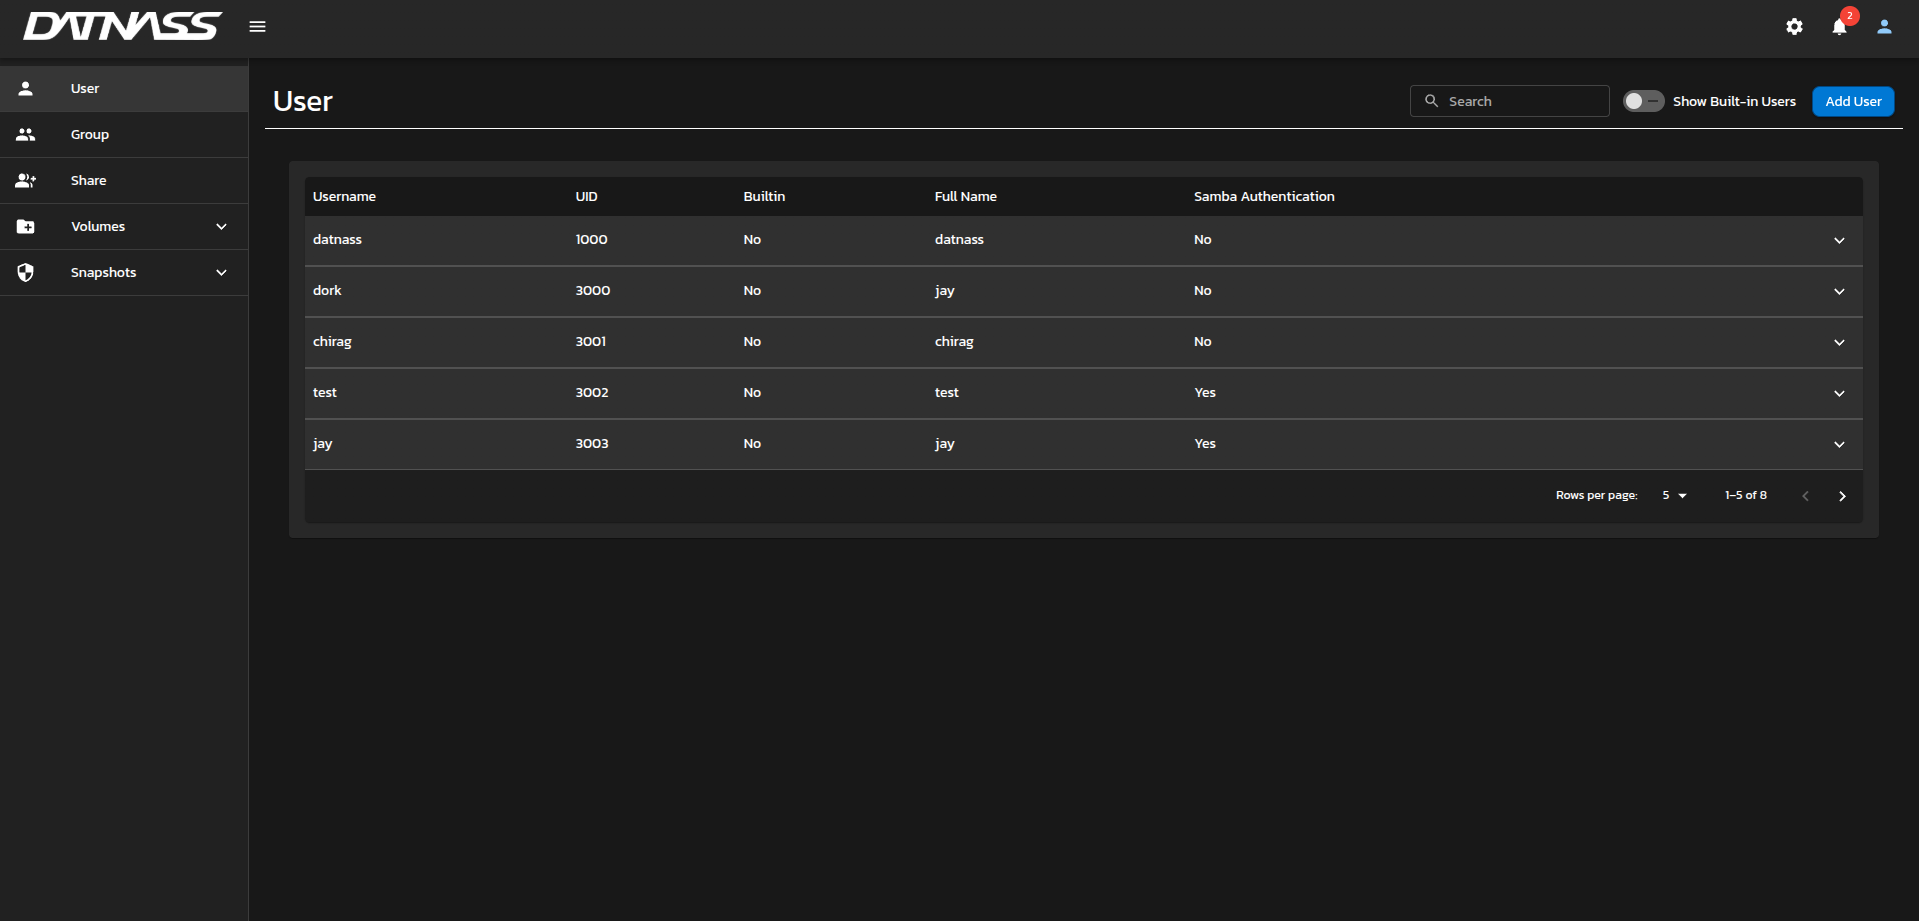
Upon successful login, you will be redirected to the TerraNAS Dashboard, where you can manage files, storage, and settings.
Top Navigation Bar
Once logged in, you will see the top navigation bar. It provides quick access to key system functions.


Menu & Branding
- DATNASS Logo & Menu Icon
- Located on the left side.
- Clicking the menu icon (☰) expands the side navigation panel (for modules like Users, Groups, etc.).
Settings (⚙️)
- Provides access to system-wide configuration and administrative tools.
- Only users with administrative privileges can modify system settings.
Notifications (🔔)
- Displays alerts and system activity updates.
- Notification icon shows a red badge with the number of unread messages.
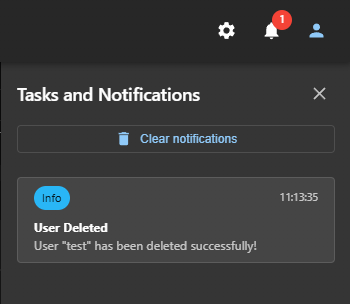
Tasks & Notifications Panel
Click the bell icon to open the notifications panel.
Example notifications:
- User added/deleted successfully.
- System errors or warnings.
- Storage or performance alerts.
Options available:
- Clear Notifications: Removes all notification logs.
- View Details: Expands specific notifications (e.g., “User ’test’ deleted successfully”).
User Profile (👤)
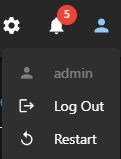
Provides account-related options. When clicked, a dropdown menu appears:
Options Available
| Option | Description |
|---|---|
| Admin/User Display | Shows the currently logged-in username (e.g., admin) |
| Log Out | Securely log out from the console. Always log out after use, especially on shared systems |
| Restart | Allows restarting the TerraNAS service/system (admin access required) |
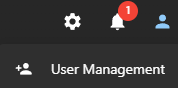
| User Management | Provides direct access to the User Management module |